Sunday, October 30, 2022

Range Report 30OCT2022: Pedersoli 1859 Sharps Infantry Rifle


My 1859 Sharps Infantry Rifle.
Those who know me will be aware that I have been having a great deal of frustration getting my new Sharps to function.  I bought this rifle second hand, new ones being incredibly hard to find.  It had already had a breech-block conversion by Charlie Hahn of Hahn Machine Works intended to reduce the typical Sharps gas problems, however, the man who had done so didn't order the replacement clean-out screw to go with it, and it was one of the Pedersoli screws which aren't long enough so I could not get the rifle to fire at all.  I contacted Mr. Hahn and ordered one of his stainless-steel clean-out screws, and this seemed to do the trick--I plugged the muzzle with a little light tissue and a cap was sufficient to blow the tissue out, which it would not do before.  This led me to have high hopes as I brought the rifle to the range today.

Conditions
Location:  Lytle Creek
Weather:  73 deg., sunny, wind 15 m.p.h. from 10:00, humidity 11%.
Shooting Position:  Seated unsupported.
Range:  50 yards.
Sight Picture:  Full sight, 6:00 hold.

Ammunition
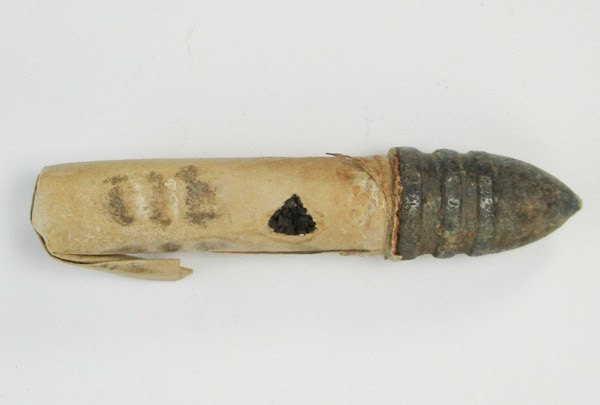
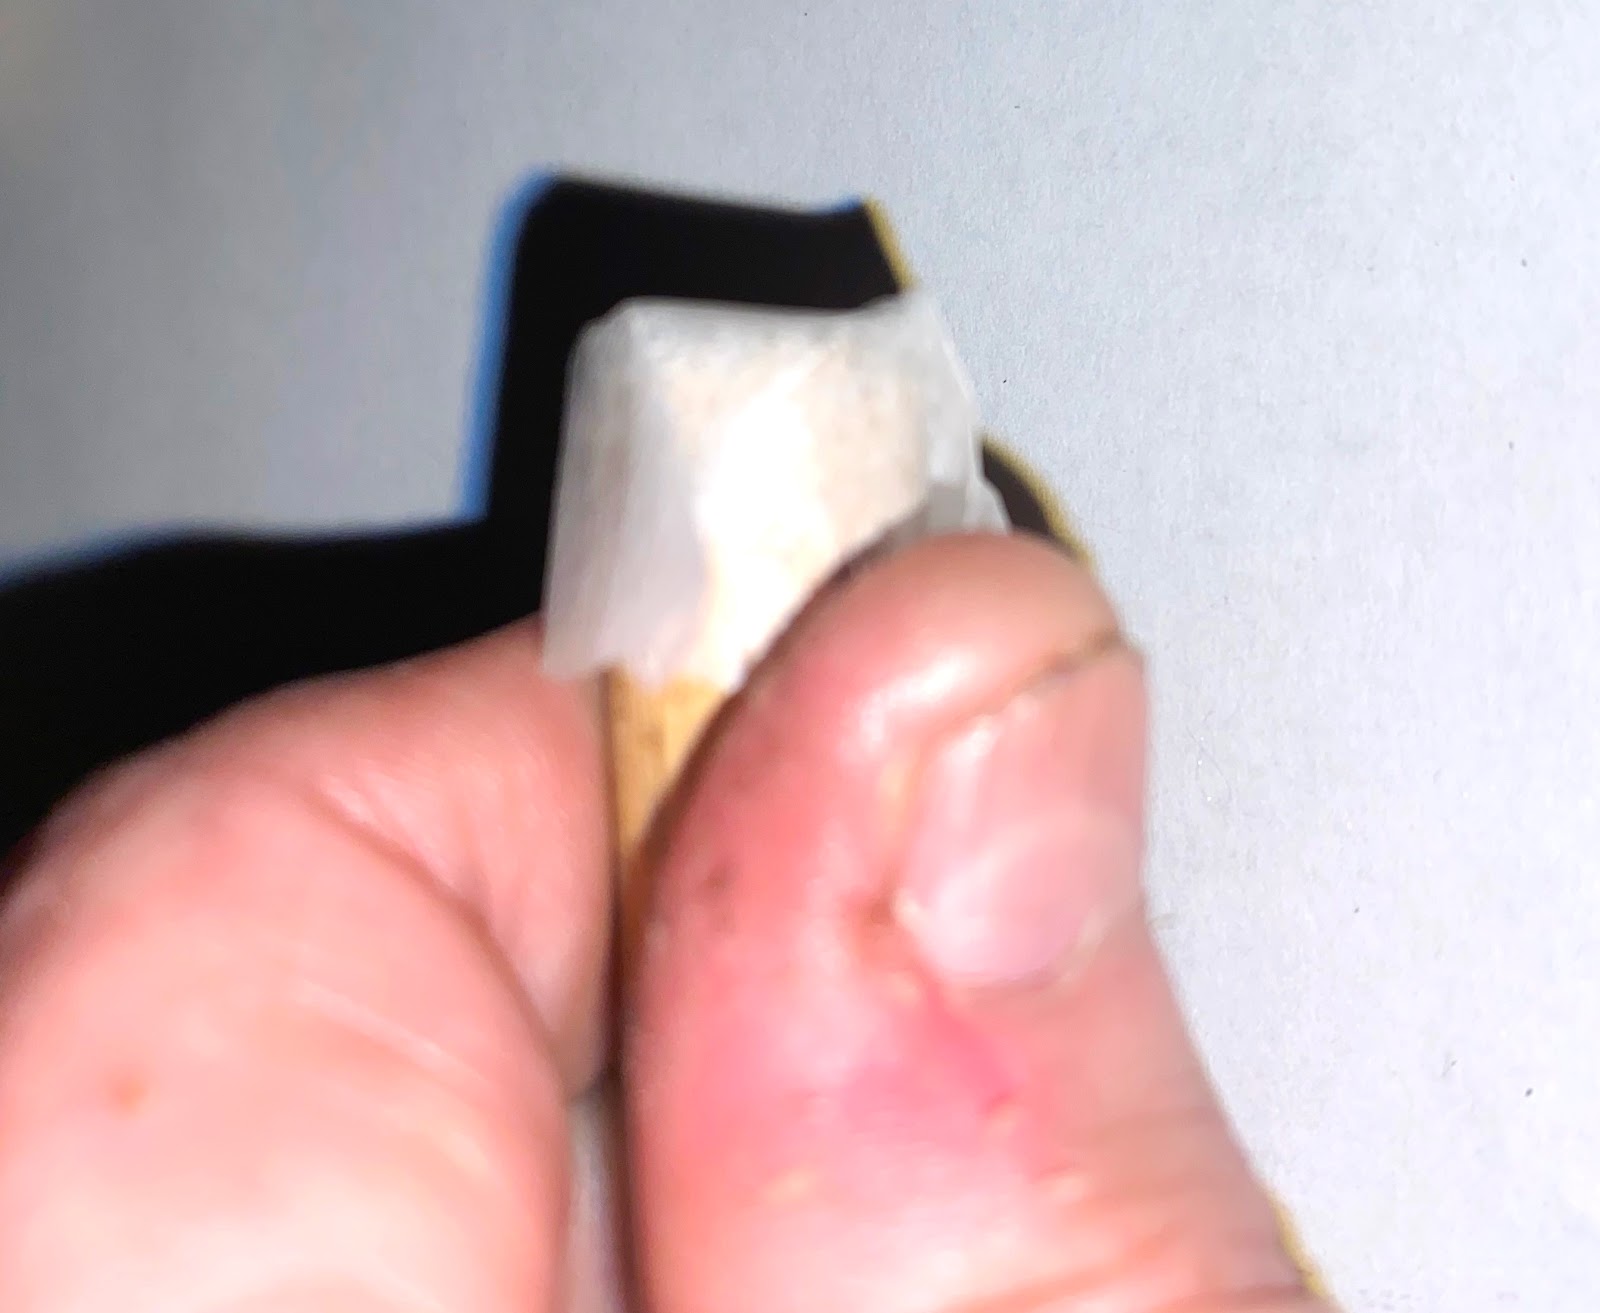
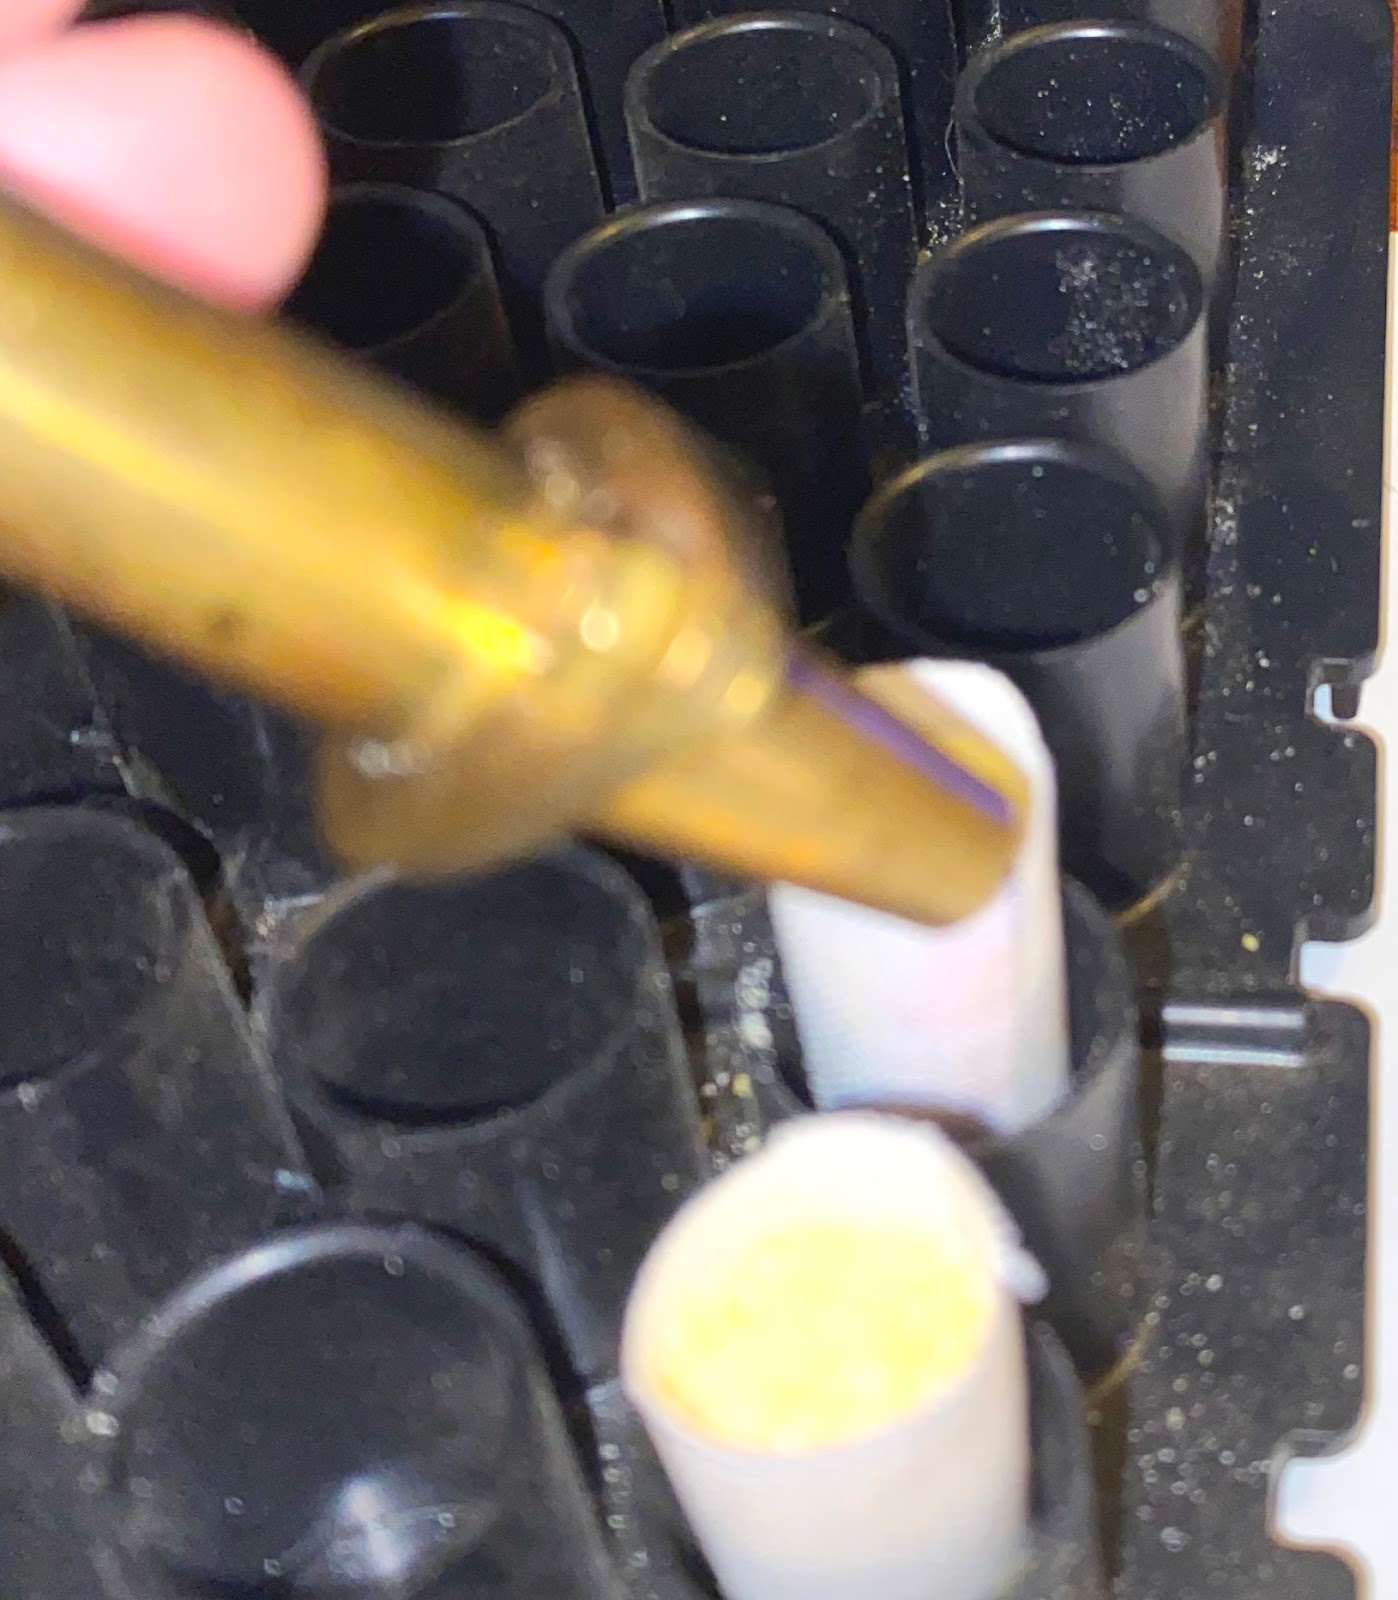
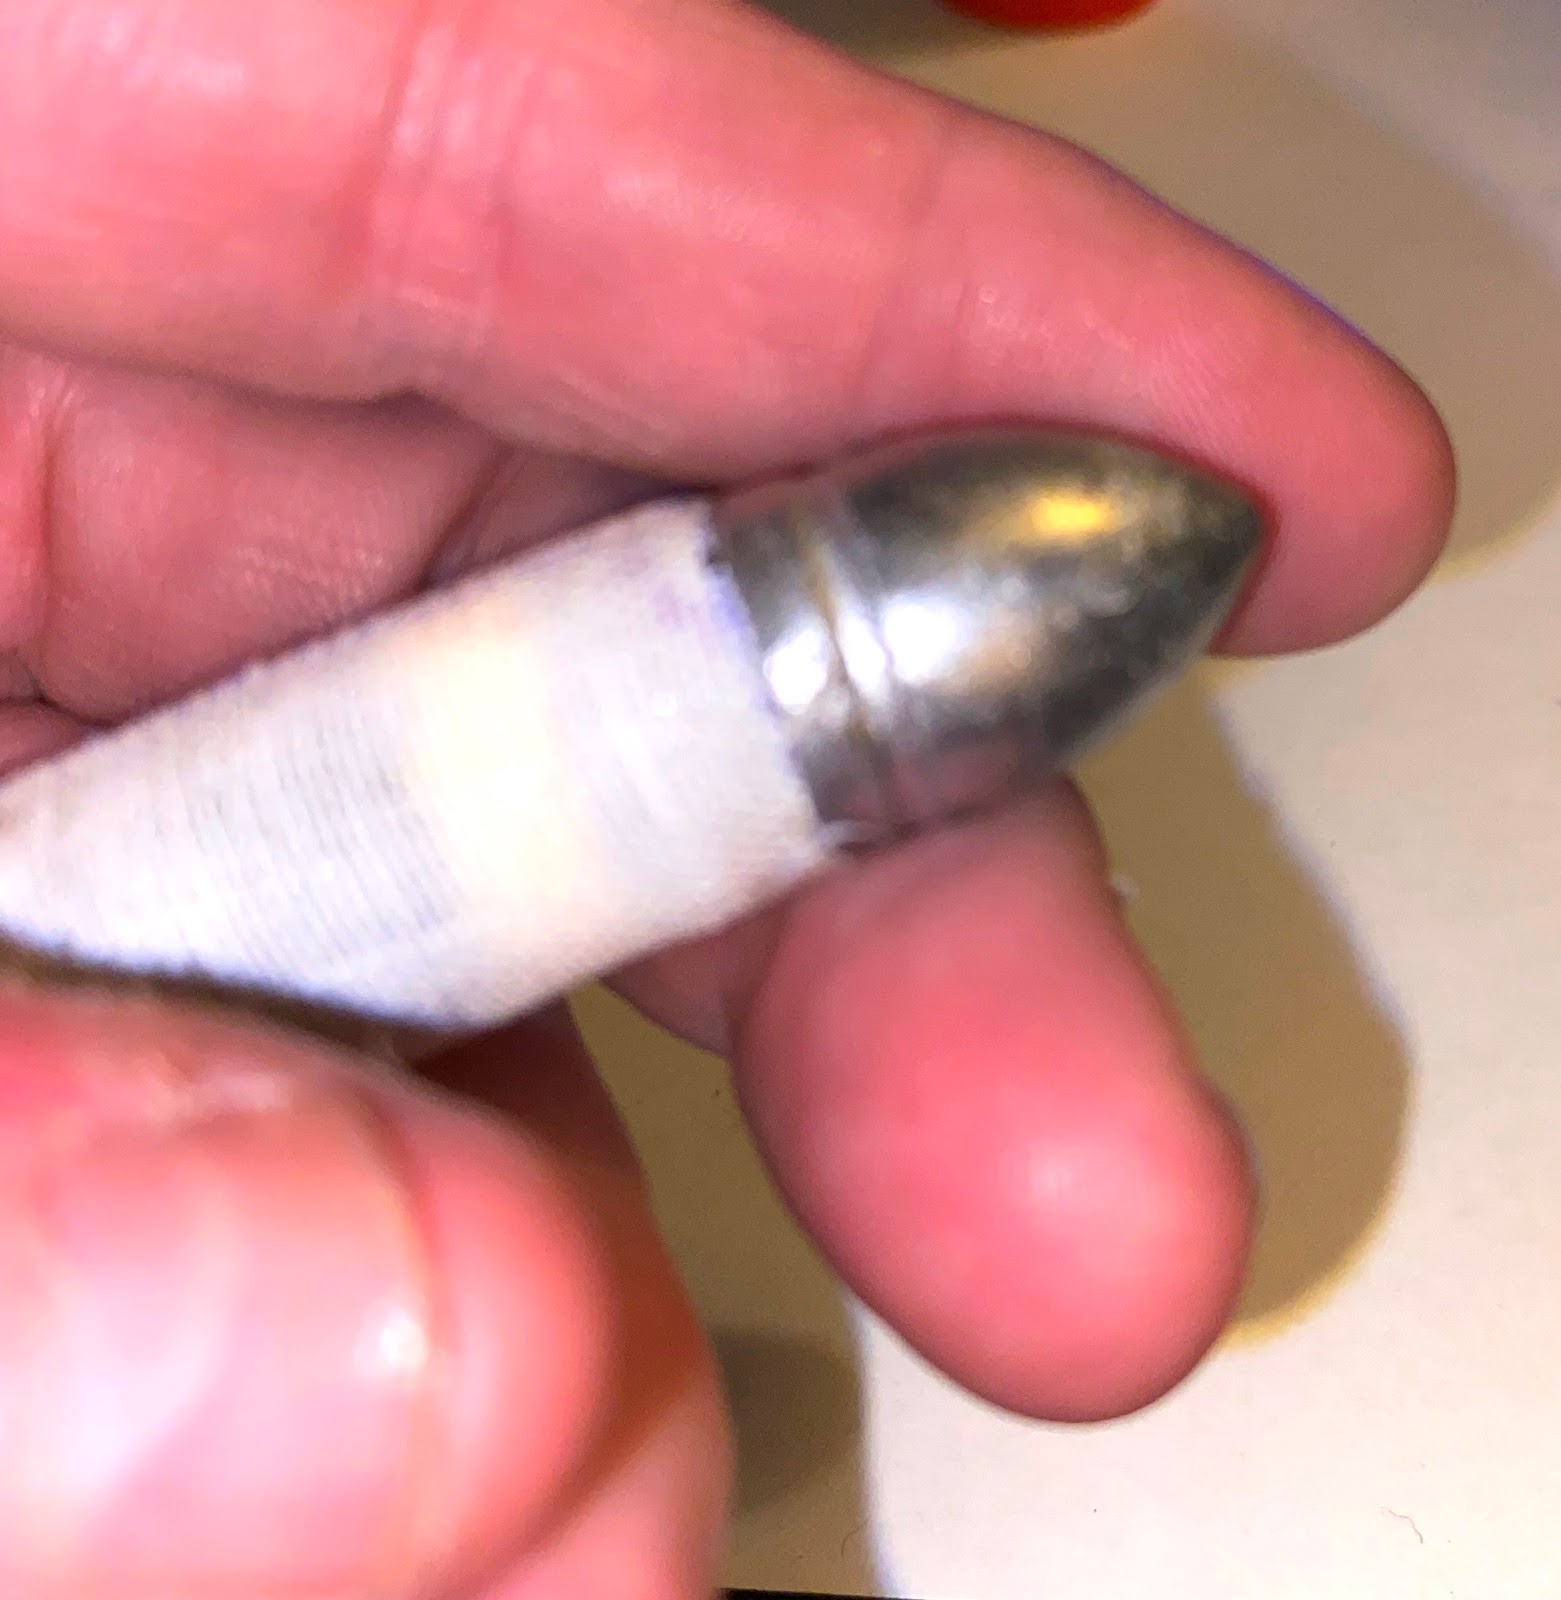
I loaded 65 grains of Schuetzen 2F powder in linen shells with tissue paper bases and cornmeal filler.  I used 510-grain Eras Gone Richmond labs bullets I cast myself.  For detailed information about the ammunition and how I loaded it, see the article HERE.

Flat-based linen cartridges with Richmond Labs bullets.
Reproduction Sharps cartridge pack.

The String Test
The String Test is a method of gauging accuracy that was actually used during the Civil War and is vastly superior to simply measuring the group size since it takes both the group size and the distance from the mean center of the group to the bullseye into account in the same number, so it is a much more meaningful way to gauge your accuracy despite being incredibly easy to do.  All shooters, and certainly all historical shooters, should be using this test.  You can learn more about the String Test at the link HERE.

Table One
10 rounds, string measurement 44.0 in.
String Test:  4.4 in./rd.

Table One.
Table Two
8 rounds, string measurement 27.0 in.
String Test:  3.4 in./rd.

Table Two.
Table Three
8 rounds, string measurement 23.75 in.
String Test:  3.0 in./rd.

Table Three.

Conclusions
To say that today was filled with frustration would be an understatement.  First, the rifle would not fire unless I first filled the nipple with a few grains of 3F powder before capping (thank you David Teague!), and while that did work most of the time, it should not be necessary and it led to significant hangfires much of the time.  Many of the wider hits in the pictures above were the result of these hangfires.  Second, my chronograph was acting up, and I got some pretty ridiculous results on those occasions it didn't just say "Error."  Third, I forgot my glasses, so my sight picture was as much guesswork as it was good shooting.

On the other hand, the rifle did shoot, and, frankly, seemed to shoot fairly well.  The String Tests shown above aren't good at all, and fifty yards is a ludicrously short range, but then, my intention for today was simply to see if I could get the weapon to shoot at all (this was my third range trip with it, and I had yet to get single round to go off before).  I wasn't working very hard on good accuracy, and without my glasses such could never have happened regardless.  Moreover, many of the fliers that can be seen in the targets above were caused by the hangfires, and if those are removed from the string measurement we're actually looking at String Tests closer to 2-2.3 in./rd.; the rifle shoots slightly to the left, and when I'm really shooting for score I can aim off easily for that, which will reduce the score even more.

As an additional note, Sharps are notorious for having the escaping gas create fouling which binds up the breech, making it extremely difficult to open and close the action.  Thanks to the excellent breech block conversion by Charlie Hahn, I merely sprayed the action with Ballistol prior to shooting, and never had even the slightest problem with the action binding.

Tuesday, October 11, 2022

Loading Ammunition for the 1859 Sharps Rifle

I made a video showing this process in detail which can be found here: https://rumble.com/v2b5fvs-making-linen-cartridges-for-the-1859-sharps-infantry-rifle.html

Introduction
The first cartridges for the Sharps were made of paper which was tied to the base of a belted bullet, then the paper tube was filled with powder and the long end folded into a kind of tail.  The top edge of the breech was sharpened so that it would cut off the tail of the cartridge in order to expose the powder to the flame of the primer, but unfortunately this system was never very consistent and a great deal of powder could be lost when the tail was cut, resulting in poor accuracy.  The ringtail cartridges weighed 455 grains and were loaded with 65 grains of rifle powder (Thomas 2002 p. 188).

A ring-tailed cartridge.

The changes incorporated in the 1859 Sharps required a new style of paper cartridge with a flat base because the new blocks were not designed to cut the paper tail, and from 1860 all Federal arsenals produced flat-based cartridges (although Confederate arsenals continued to use ring-tailed cartridges) (Thomas 1998 p. 78/13).  Early versions were made of paper, but these were found to be too delicate for use in the field and so were replaced by linen for all cartridges made by the Sharps Company.  Most of the Federal arsenals switched to linen, too, but some continued to make cartridges of paper when linen was scarce until they were ordered to stop using paper in 1864 (id.).  Captain Thomas J. Wood of the 1st Cavalry Regiment wrote that:  “Owing to the great weight of the ball the attachment of the paper cylinder to it is not strong enough to resist the wear and tear of active service” (Thomas 2002 p. 197).  Major R.H.K. Whitely at the New York Arsenal wrote that:
…the making of Sharps Cartridges with paper must be abandoned and linen must be used in the formation of the cylinder.
More care cannot be taken in the making of the cartridges than is bestowed in the Laboratory.  The fact is that the ball is too heavy for the paper, and worse than that—the paper is sometimes softened by the lubric which causes it to break by the weight of the ball.  From this date I will make no more of paper, but I will make the powder cylinder of linen.” (id. p. 197.)

Flat-based linen Sharps cartridge.

Some modern sources are confused about the charge in Sharps ammunition, especially as to whether the carbines used different ammunition than the rifles.  The official Ordnance Department listing of ammunition for breechloading weapons says that the Sharps carbines and rifles used the same cartridges, and General Ripley of the Ordnance Department wrote a letter asking Col. George D. Ramsey of the Washington Arsenal about the difference between carbine and rifle ammunition:  “Is there any difference the Sharps rifle and the Sharps carbine cartridges as regards size of the ball and weight of the powder?”  Ramsey checked and replied that:  “Sharps rifle ball 458 grains, powder 62.4.  Sharps carbine 458.4, powder 63.6” (id. p. 200).

General Dudley of the Ordnance Department said that although 65 grains was the nominal charge it could vary from 63 to 68 grains (id. p. 207).  This load was important because testing showed that that was the charge necessary to make the weapon shoot to the graduations on the hausse.  In a letter from Major Benton of the Washington Arsenal to General Ramsey of the Ordnance Department, he wrote:
In answer to your letter of the 2d inst. I have to say that I have had numerous experiments made here with cartridges for the Sharps carbine, and it is found that 65 grains of musket powder are required to make the bullet hold up to the graduations on the sight. (id. p. 207. )

In testing, it was found that this load, when fired at pine boards 30 yards from the muzzle, would drive the bullet 9.23 inches deep (id. p. 207).

Looking at pictures of extant cartridge packets we see two different kinds in general use.  Both styles held ten linen cartridges with a paper tube containing 12 “top hat” musket caps.  John C. Palmer of the Sharps Company wrote to General Ripley of the Ord. Dpt.:  “We have adopted the system of packaging 12 Govt. Hat Caps in each box of ten cartridges, the box covered with a heavy coat of Waterproof Varnish” (id. p. 199).
Original cartridge pack.

Note:  I learned the method for making these cartridges by watching this video by Mike Beliveau:  https://rumble.com/v1j7dpb-making-linen-cartridges-for-the-1859-sharps.html

Chamber Length
There are several manufacturers of reproduction Sharps, and each of them have different chamber sizes, with some even changing over time, and all of them are different from the originals.  Since the  cartridges have to be an exact match for the chamber length, the first step is to determine the chamber length of your specific piece.

Start with a half-inch dowel about eight inches in length.  Glue a bullet to one end of the dowel (I had trouble getting the bullet to stay, so I ended up gluing it and then taping it as well), then insert it into the chamber of the rifle and mark the dowel at the end of the chamber.

Measure the distance from the line to the bottom of the driving band as shown in the picture below.  This measurement will be the length of the linen tube for the cartridge.
Chamber depth gauge.

Pattern Making
Begin by making the former that will be used to wrap the cartridges.  These can be made in two ways:  First, a half-inch dowel can be built up with tape until half of it is the same diameter as the base of the bullet to be used.  Second, start with a larger dowel and turn it down until one half of it matches the diameter of the bullet base and the other half is one half inch.  Either way, the idea is to end up with a former that is about eight inches long, with one half of its length being the diameter of the base of the bullet to be used and the other half being one half inch in diameter.  Ultimately, I ended up combining both methods since the turned former was slightly too small, so I added a layer of tape to bring it to the exact right size.  Lightly sand the smaller end of the former so it won’t rip the paper bases.

Cut a strip of paper the width of the chamber depth then wrap it around the large end of the mandrel so that it overlaps itself by about one  quarter of an inch and mark that.  Cut the strip at the point you marked and that will be the pattern for the shell template.  I used that to make a wooden block of the correct size because I find them easier to use than paper templates.
Forming mandrel and template.


The Bullets
I cast the bullets using an Eras Gone Bullet Molds Richmond Laboratory bullet mold (found here) from 100% pure lead.  These are slightly different from the bullets used by the Federal armories and contractors, which had an additional cannelure above the heel, but there are no molds for the correct bullets available, and these are, at least, period correct and very similar.
Richmond Labs Sharps bullets.


The Linen Shells
The exact type of linen used in Sharps cartridges is unclear, however, I have been informed that it most closely resembled drafting linen, a very fine linen that was used to make blueprints.  Unfortunately, drafting linen is no longer being manufactured (although pieces can sometimes be found online), so find a very fine linen.  I purchased mine from Burnley & Trowbridge Company (burnleyandtrowbridge.com) in Williamsburg, VA.  I purchased their “White Shirt/Shift Linen” ($17.00/yard in 2022).  This is a very fine 100% Irish linen, and they sell it in smaller pieces so that it isn’t necessary to buy it off the roll.  Any company which supplies fabric for high-end historical garments should be able to provide a similar product.

The linen, as it comes from the manufacturer, is not stiff enough to make good cartridges, so it needs to be sized.  Sizing is a starch-based product that gives fabric stiffness and body.  You can buy either liquid starch or wallpaper sizing; I first tried heavy-duty spray starch for ironing, but that proved unsatisfactory.  Follow the manufacturer’s directions for the sizing, then iron your fabric to get it to lie flat and smooth.

Since Sharps cartridges are straight walled rather than tapered, use a yard stick to mark a straight line across a length of the fabric, then use the template discussed above to mark the shells.  Cut them out with a pair of sharp scissors or a fabric cutter.

Take one of the linen shell blanks and wrap it snugly around the large side of the mandrel, taking care to make sure it lines up squarely.  Glue the edge of the shell and press it firmly into place; I roll the shell, while still on the mandrel, back and forth on a table to get a good seal.  I use a glue 
stick, but Elmer’s glue can be used as well, it just takes longer to dry.  Slide the shell off of the mandrel, set it aside, and let it dry completely.

Linen shells.
Using the mandrel to form the shells.

Formed shells.

The Bases
In period, currency paper was used for the bases, however, tissue paper is easier to find and use now (I use perm-wrap paper).  Purchase a 1.5-inch craft hole punch and use it to punch out multiple bases at one time.

Once the shells are dry, center a tissue-paper base on the end of the smaller side of the mandrel and fold it evenly down over the mandrel.  Insert the mandrel, with the base still on the end, about halfway into the linen shell.  Use a small brush or the end of a Q-tip to apply a band of glue on the inside of the shell, then insert the mandrel the rest of the way into the shell until the base is flush with the end of the shell and press it gently against a table to make it even.  Gently squeeze the linen against the mandrel over the tissue-paper base to get the glue to stick well, then slide the mandrel out of the shell, leaving the base behind.  Set the shell aside and allow it to dry completely.

Hole punch for making the bases.
Tissue-paper base on the small end of the mandrel.

Filling the Cases
When the bases have dried set the finished shells in a rack.  Measure out the powder charge to be used and pour it into the shells.

Measure the height of the heel of the bullet to be used (the part to be covered by the linen).  Tap the powder in one of the shells to settle it, then measure how close the powder comes to the top of the linen.  Compare this to the height of the bullet heel and this will show how much filler must be used to fill the cartridge completely; measure this amount and add it on top of the powder.  Finding just the right amount of filler might take a little experimentation.  It is best to have the powder and filler take up just slightly more space than the bullet needs so that when the bullet is inserted it will compress the powder slightly.  This not only makes for a firmer cartridge, it also prevents the powder from shifting when the cartridge is laid on its side to be inserted into the chamber of the rifle.

Next, roll the heel of the bullet on a glue stick or paint it with glue, then insert the bullet into the shell.  Squeeze the linen that overlaps the heel to get good adhesion, and hold it in your fingers until the glue starts to set.  This will take longer if a liquid glue is used, and is somewhat faster with glue sticks.  Set the glued cartridges aside to dry.
Pouring the powder charge.
Adding cream of wheat filler.
Seating the bullet.
Ungreased cartridges.

Greasing the Bullets
Grease is an essential element of black-powder cartridges.  It is often called “lubrication” by modern shooters, but it doesn’t actually lubricate.  Instead, it acts to soften the fouling that builds up between shots in order to prevent it from caking the inside of the bore with hard black powder residue.  Each subsequent bullet, then, pushes the softened fouling of the previous shot out of the bore with it, keeping the bore relatively clean while simultaneously leaving new grease behind to soften its own fouling.

The official recipe for bullet grease in the 1861 Ordnance Manual is eight parts of lamb tallow to one part beeswax (Ordnance Department 1861 p. 266), although civilian ammunition manufacturers may have used somewhat different recipes.  Lamb tallow is actually fairly easy to obtain online.  It is best to buy beeswax in pellet form so that it will melts quickly and evenly; if pellets are not available, the wax can be grated first.  Alternatively, if tallow is not available cheap supermarket olive oil can be mixed with beeswax in a 1:1 ratio; this formula is not as effective or as solid, but works fairly well.  Regardless of the formula used, if the weather is especially hot when the cartridges are to be used the percentage of beeswax can be increased to reduce melting from the heat.

Put your mix into a heat-proof microwavable container and microwave it on high until completely liquid or else melt it in a double boiler.  When it is fully melted, dip each bullet into the grease, point first, up to the line of the linen—try not to get any grease onto the linen if it can be avoided.  Set the cartridges on a paper towel or a sheet of aluminum foil to cool.  When the grease has cooled and hardened on the bullets they are complete and ready to package.
Dipping the bullet in grease.
Letting the grease cool.
Finished cartridges.

Cartridge Packs
I make the boxes from a design I worked out.  I print a pattern and glue it to a cardboard backing, cut it out, then glue it together.  I glue a piece of hemp cord to the inside of the back of the box to use to rip the package open.  I print a label I designed to be a close match to one of the original styles (see above) onto brown light craft paper, then cut it to the size necessary to wrap the box.

Wrap a piece of paper around a pen, fold the bottom up and glue it in place.  Then insert 12 musket caps into the tube and twist the top shut to secure it.  Add a row of cartridges to the box with the bullets all aligned with the back of the box.  Lay the tube of caps onto the bullets, then add another row of cartridges on top oriented in the same way.

Lay the wrapper  face down onto the table.  Flip the filled box upside down onto the wrapper so that it is aligned exactly on the label, then wrap the package like a Christmas present and glue it in place.  Make sure the cord extends out from one side of the wrapper.
Tube of musket caps.
Box with one layer of cartridges and a tube of caps.
The second layer of cartridges.
Finished cartridge packets and loose rounds.

Sources
Thomas, Dean S. Round Ball to Rimfire: A History of Civil War Small Arms Ammunition. Part Two, Federal Breechloading Rifles & Carbines. Gettysburg: Thomas Publications, 2002.

———.  American Society of Arms Collectors Bulletin, “Federal Ammunition for Civil War Breechloading Carbines and Rifles.” Vol. 124 (Fall 2021) 78:3-19, americansocietyofarmscollectors.org/wp-content/uploads/2019/06/1998-B78-Federal-Ammunition-for-Civil-War-Breechl.pdf. Accessed 02JAN2022.

United States Ordnance Department. The Ordnance Manual for the use of the Officers of the United States Army. Philadelphia: J. P. Lippincott, 1861.

Range Report 04May2024: Comparing Colt and Remington New Model Army Revolvers

  Today's shooting conditions. Today’s range session was supposed to be dedicated to doing some ballistic testing of a handful of recrea...